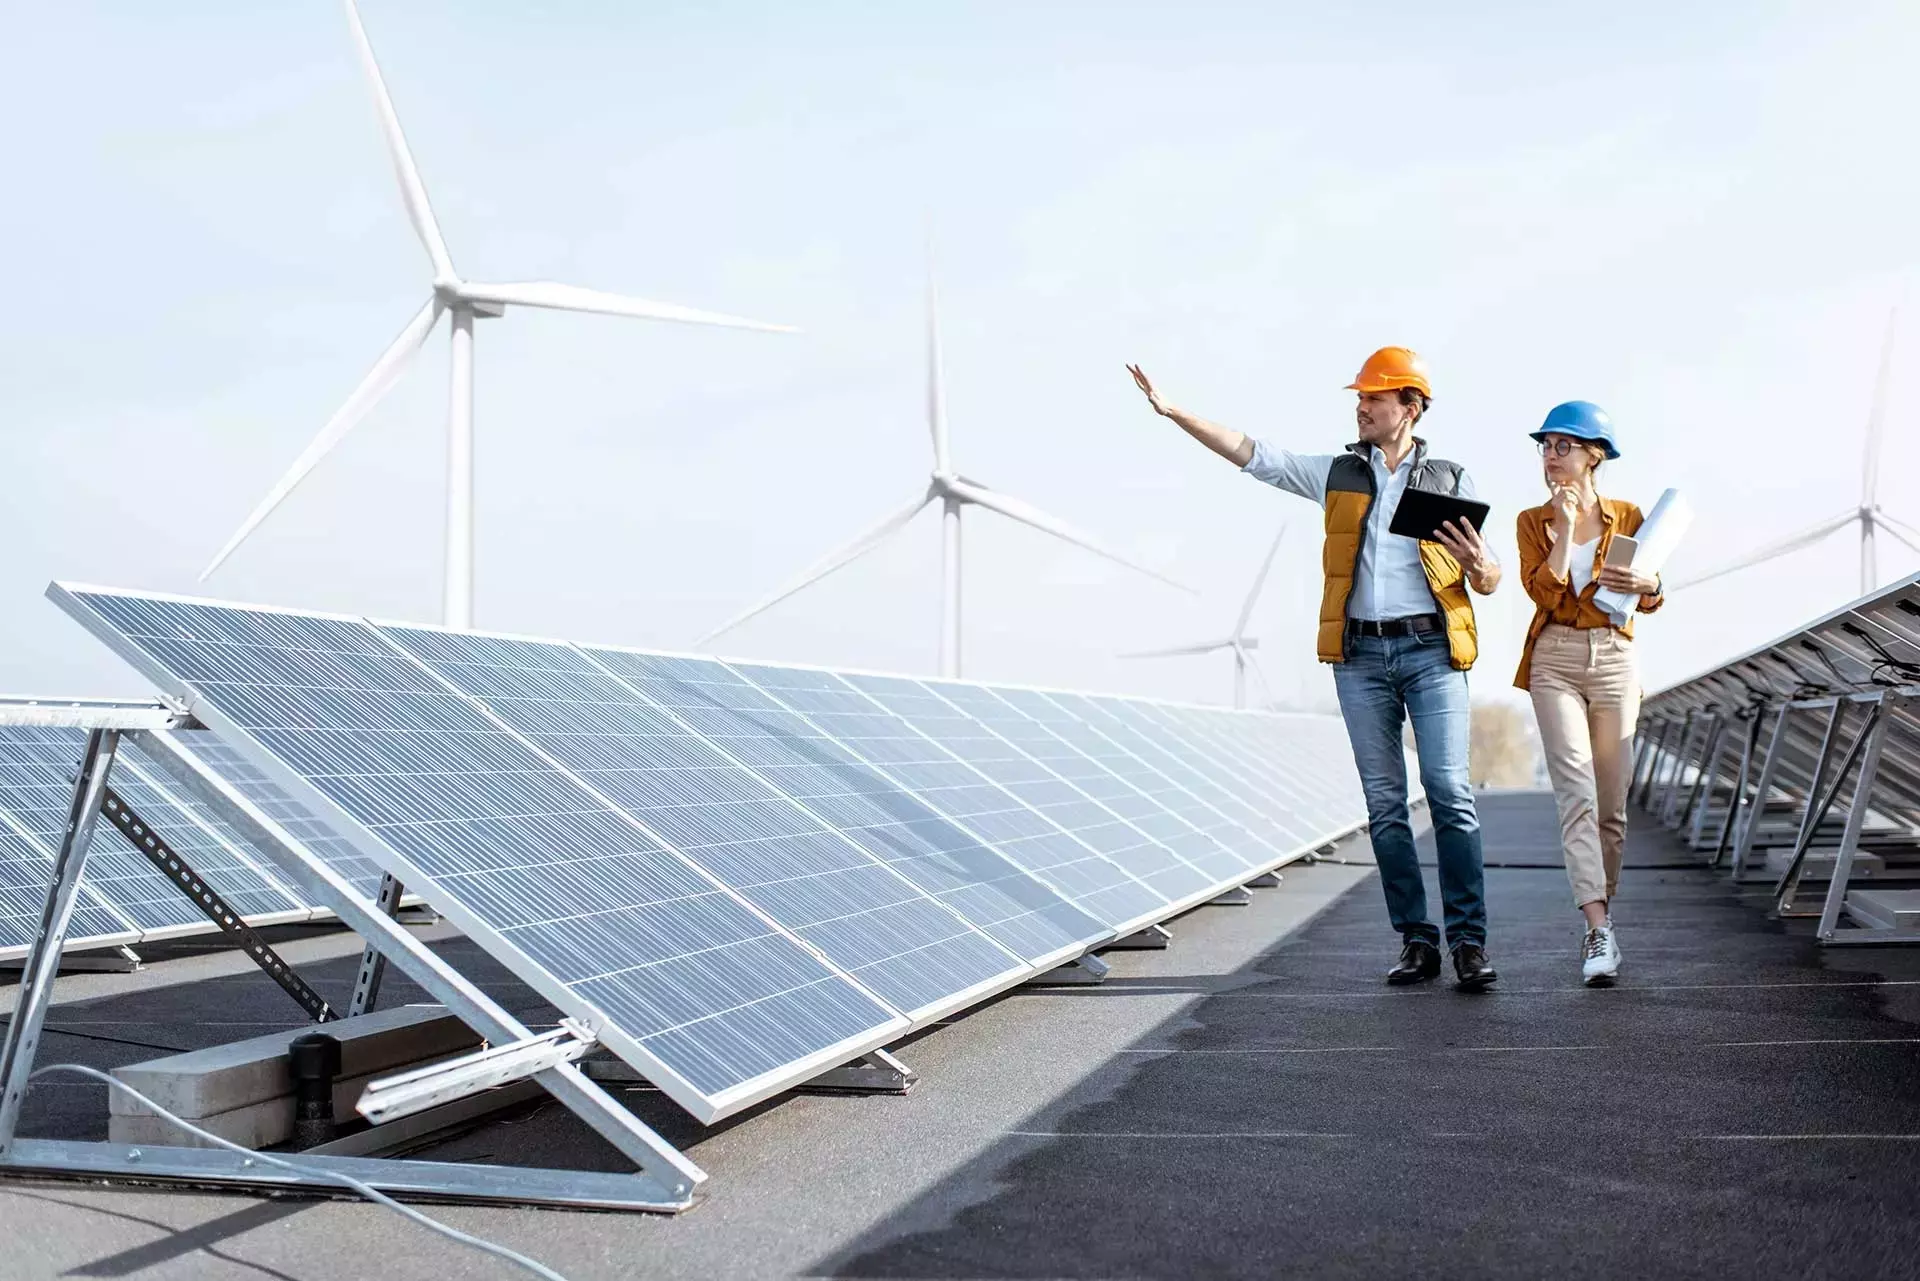
Buying solar is easier when you evaluate each component with clear criteria. This handbook provides a structured approach to selecting parts that work together efficiently and safely.
Step 1: Understand Module Technologies
Mono-PERC vs. TOPCon vs. HJT: all can perform well; focus on certified efficiency, temperature coefficient, and long-term reliability.
Key parameters:
Module wattage (W): higher wattage often means fewer modules and smaller footprint.
Efficiency (%): impacts roof area needed.
Temperature coefficient (e.g., −0.30 to −0.40%/°C): lower magnitude is better for hot climates.
Mechanical load ratings and PID/LID resistance.
Warranties:
Product: typically 12–15 years.
Performance: commonly 25–30 years with a final guaranteed output (e.g., 84–88%).
Step 2: Choose the Right Inverter Type
String inverter: cost-effective, easier service, central point of monitoring; performance depends on string uniformity.
Microinverter: module-level optimization and better shade tolerance; higher initial cost.
Power optimizers with string inverter: middle ground for shade or complex roofs.
Hybrid inverter: adds battery support, islanding, and energy management features.
Step 3: Match Inverter Features to Your Use Case
MPPT count and input voltage/current ranges for flexible stringing.
Anti-islanding protection and grid code compliance.
Communication and monitoring: Wi-Fi/LAN, RS-485, Modbus, cloud portal, open API if you need integration.
Protection: surge protection (Type II), AFCI/arc-fault detection where available, and rapid shutdown for safety.
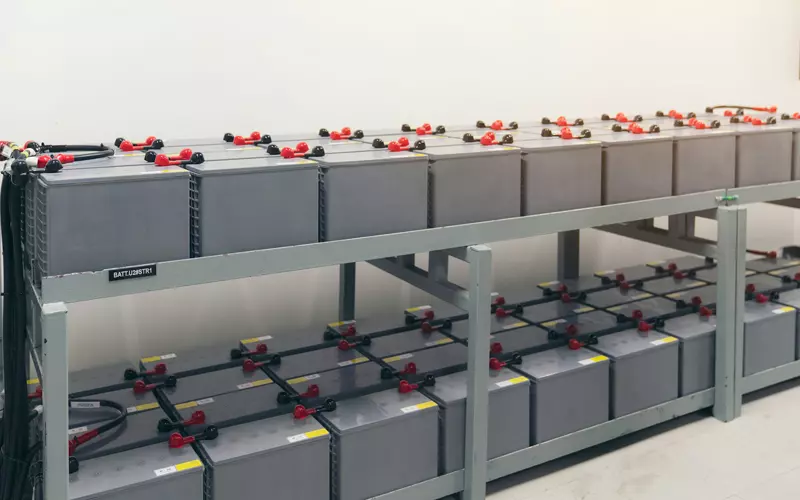
Step 4: Battery Technology and Sizing
Chemistry: Lithium iron phosphate (LFP) is widely chosen for safety and cycle life.
Depth of discharge and cycle life: aim for ≥6000 cycles at 80–90% DoD for long-term value.
Scalability: rack-mount or modular packs allow future expansion.
BMS and inverter compatibility: confirm approved lists and communication protocols (CAN/RS-485).
Step 5: Balance-of-System Essentials
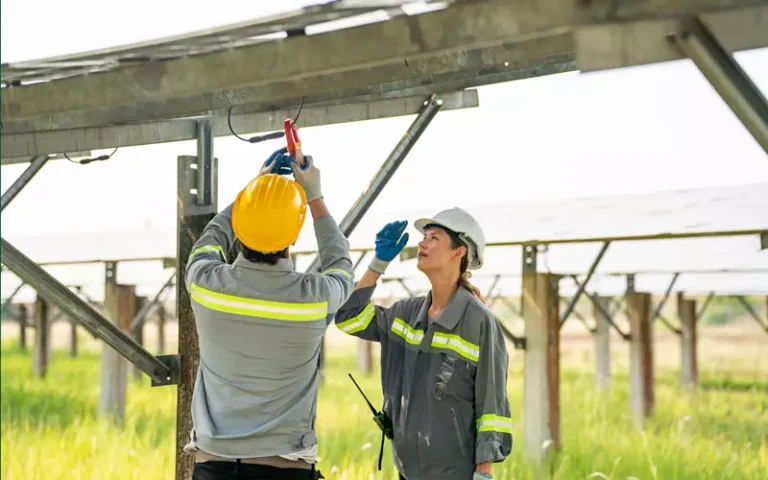
Mounting structures: hot-dip galvanized or aluminum, wind-rated, compatible with your roof.
Cabling and connectors: PV-rated, double-insulated DC cables, original MC4-type connectors, and proper crimping tools.
Protection devices: DC/AC isolators, fuses/breakers, SPD Type II on both DC and AC sides as appropriate.
Earthing and lightning: dedicated earth pits and bonding; consider a lightning arrestor in high-exposure areas.
Step 6: Evaluate Quality With Certifications
Panels: IEC 61215, IEC 61730, and independent lab results where available.